
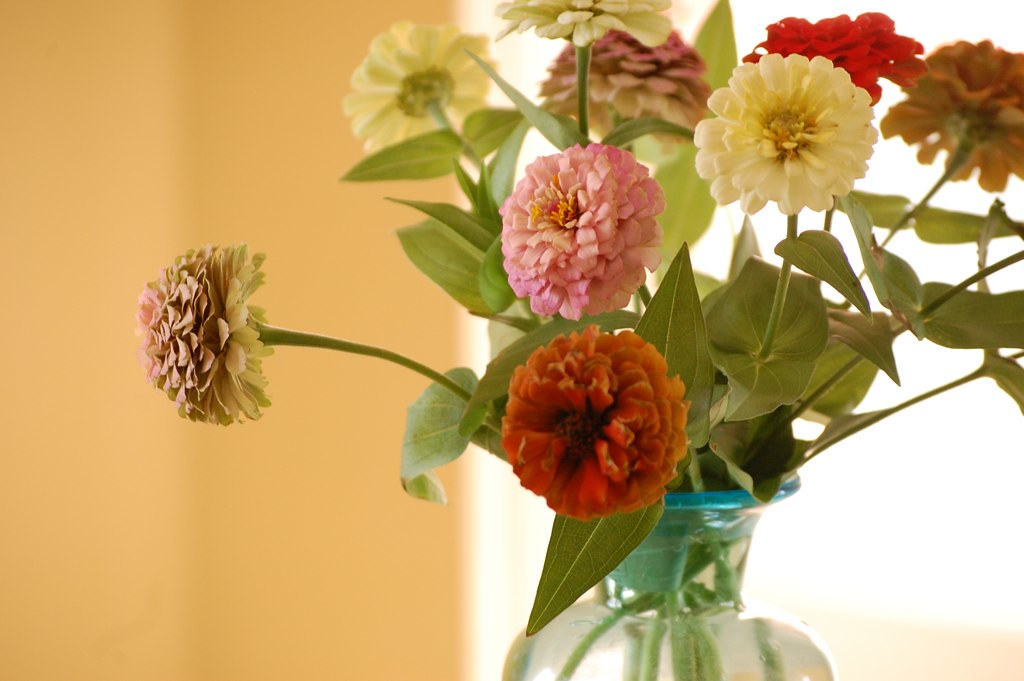
Let me start with the zinnias that Emma planted this past summer. They are still blooming! So, if you love fresh flowers, but hate paying for them at the store, go plant some! You won't regret it.
And now for the Tortilla Soup Recipe. I think this is my all time favorite soup on the planet. My mom made it for us as kids, so I wanted to share....
1 whole chicken
4 cans diced tomatoes
2 cans chopped green chiles
1 Tbsp. chili powder
1 1/2 tsp. salt
1 1/2 tsp. garlic powder
1 large sweet onion, chopped
1 can corn
baby carrots, split in half, lengthwise
Boil your chicken in water, until done. Remove the chicken from the broth, debone, and chop. I usually pour my chicken broth, which was made from my chicken, into a separate container. We will use it later. If you wanted to cheat, you could use a rotisserie chicken, but then you would have to buy chicken stock.
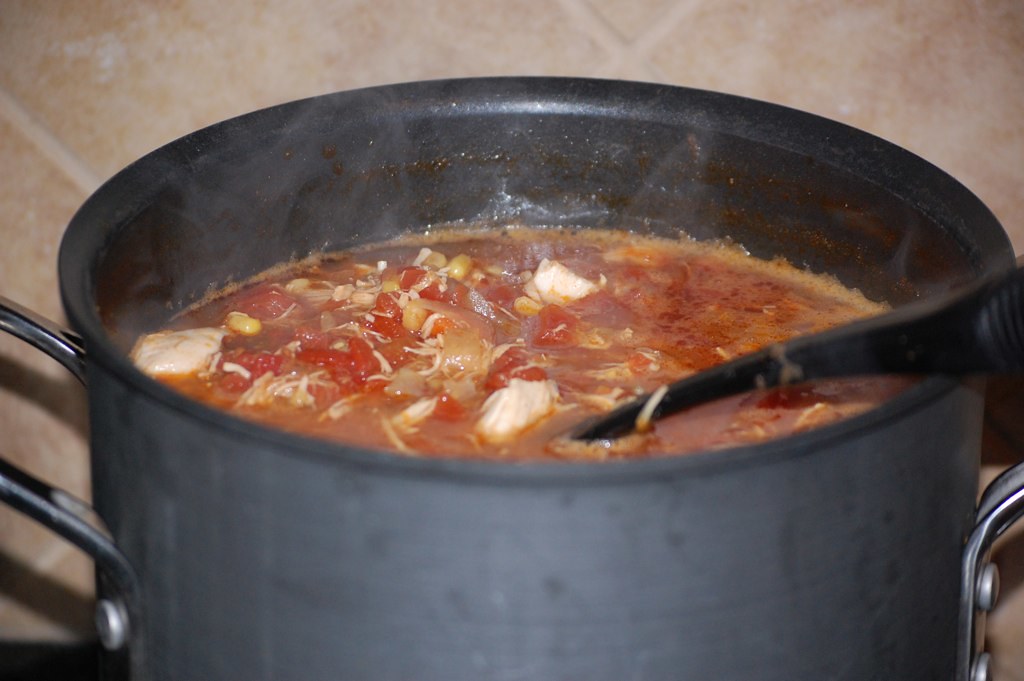
In a large stock pot, add ALL of the remaining ingredients, tomatoes through carrots. Then add 2-3 cups of your reserved chicken stock to the soup. Bring to a simmer, and cook until onions are translucent. After that, I add my chicken back into the soup. If you add the chicken too early, it can fall apart and leave you nothing by the end. If you like, add more chicken stock. Everyone likes their soup a different consistency. It will look like this....
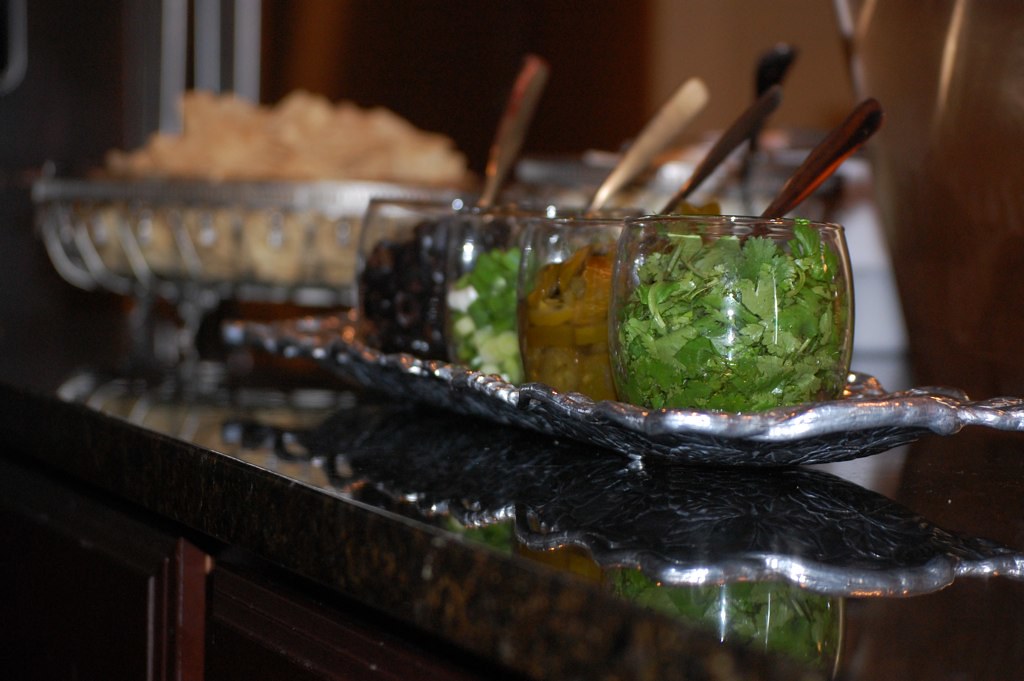
Top with black olives, green onions, jalapenos, and fresh cilantro.
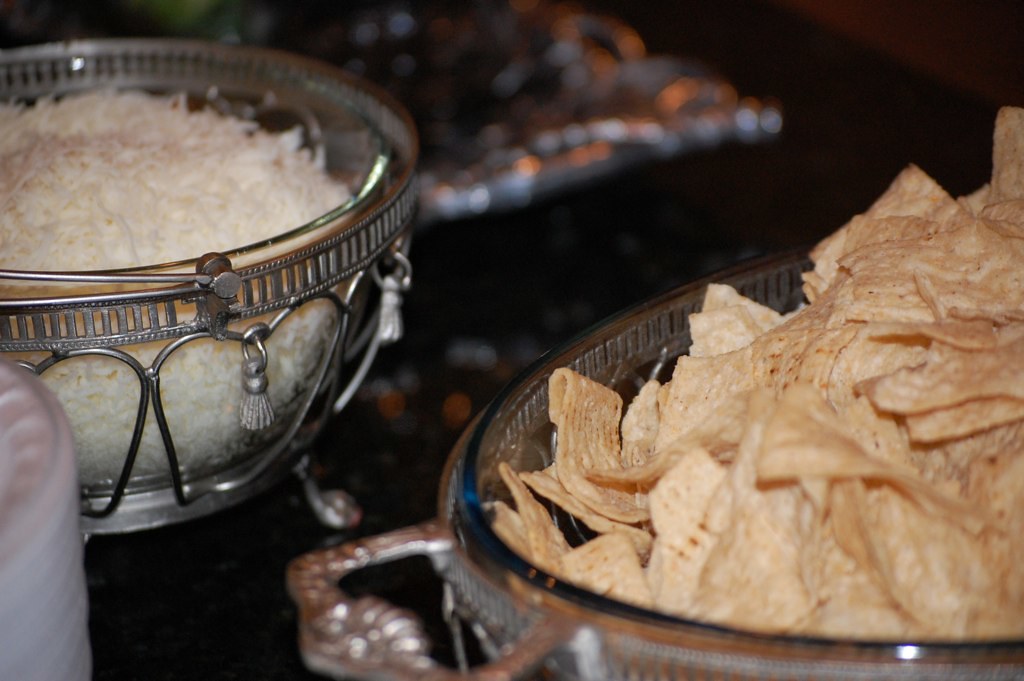
Then, top with shredded mozzarella cheese and tortilla chips. It is yummy, makes a TON, and is a crowd pleaser for sure :)
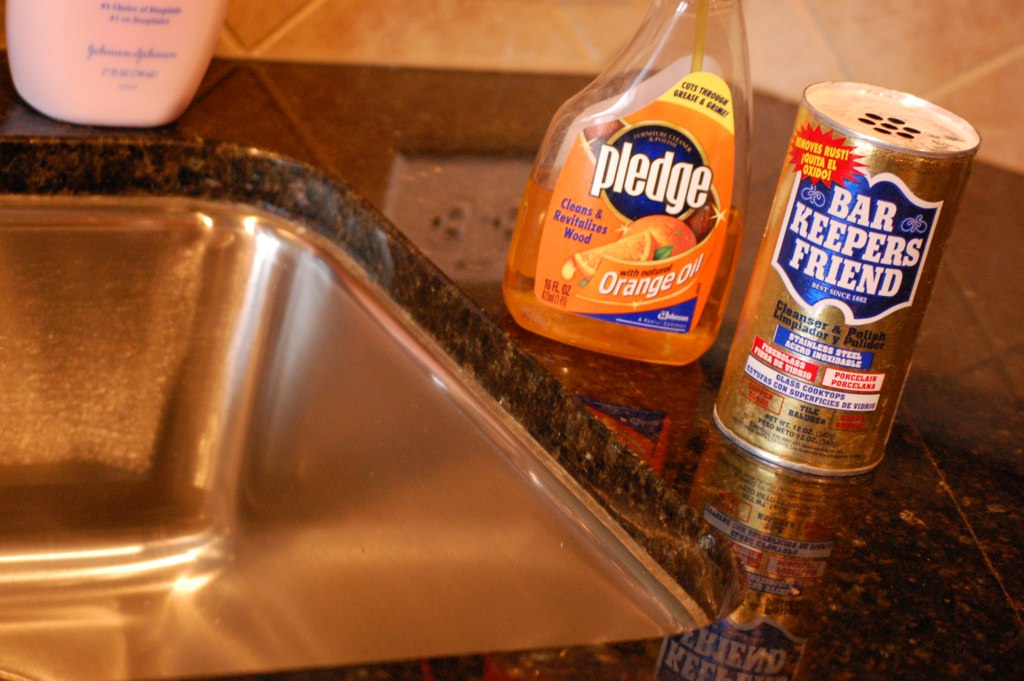
After you've done all that cooking, you can clean you sink with these two guys....
- Bar Keeper's Friend-This is the best stainless steel cleaner around! We bought new pots and pans for my anniversary this year in August. After 7 years, my non-stick pans were done! I ended up with stainless steel cookware and bought this cleaner to go along with them. Both the cleaner and the pans were bought on Amazon.com (although it wasn't near this pricey when I bought it), but I've been told that you can purchase the cleaner at World Market, Lowe's, and Bed Bath & Beyond. Pour some into your sink. Scrub. Rinse. Dry.
- Then, smear on some Orange Oil. You won't be disappointed!
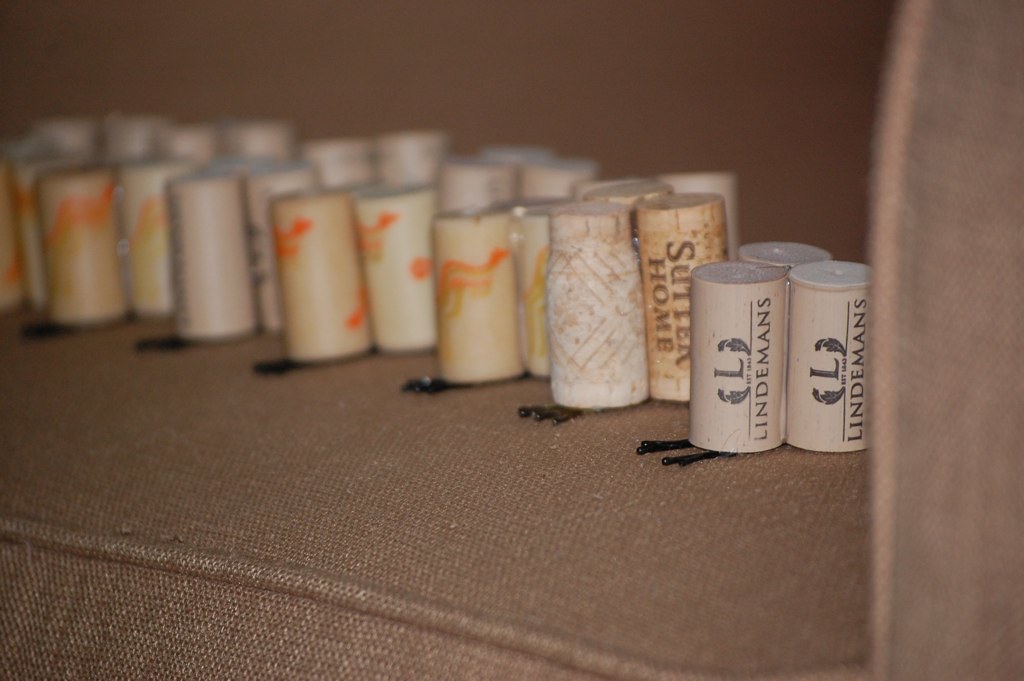
Next, I finally found a use for all of my saved corks...
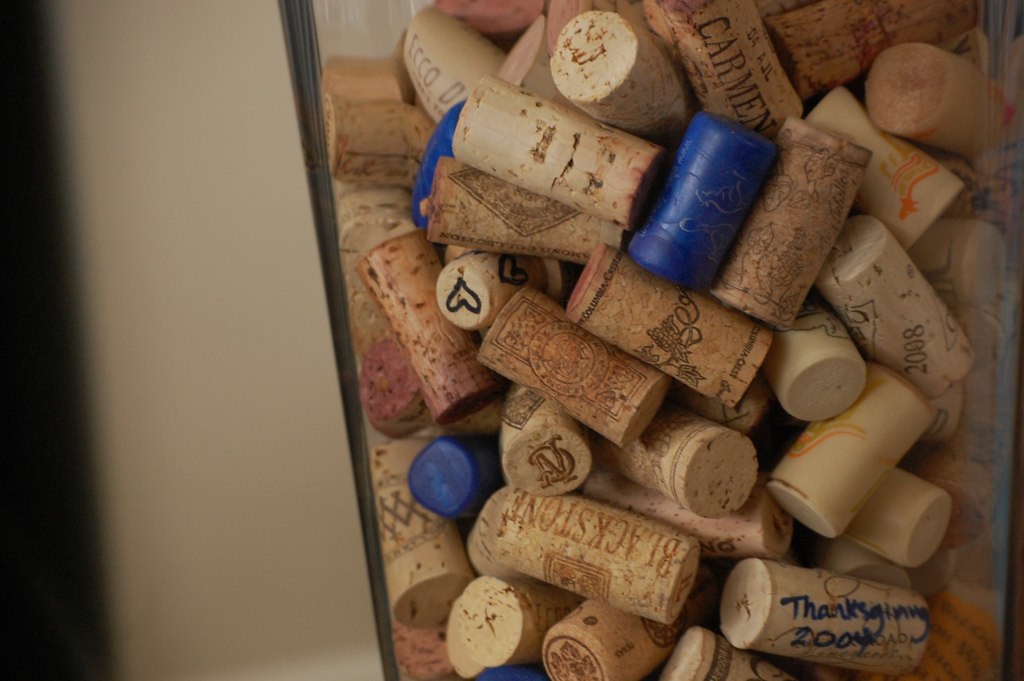
I've been saving them since our very first bottle of wine together :) So, we have a few. Occassionally, we write on them with a marker...with the date or what we were celebrating. If you don't write on your corks, you should. It's fun to look back on.
We made Turkey Day Place Card Holders. And this is what you'll need for each turkey:
- 3 corks-
Our family can feel good knowing that each of their place card turkeys required Rob and I to drink 3 bottles of wine :) - 2 bobby pins
- red felt
- yellow or orange felt
- 1 ball-we used wooden ones about 1" in diameter. i bought a sack of them at hobby lobby, in the craft department, on the wooden items aisle. there were 16 in a pack for $2.99. i wanted to use gum balls from a sweet gum tree, but y'all would be proud that i laid that idea to rest, without losing too much sleep :) you could use anything round that you wanted.
- 2 wiggly eyes
- feathers
- toothpick
- paper
- tacky glue and hot glue
- tape
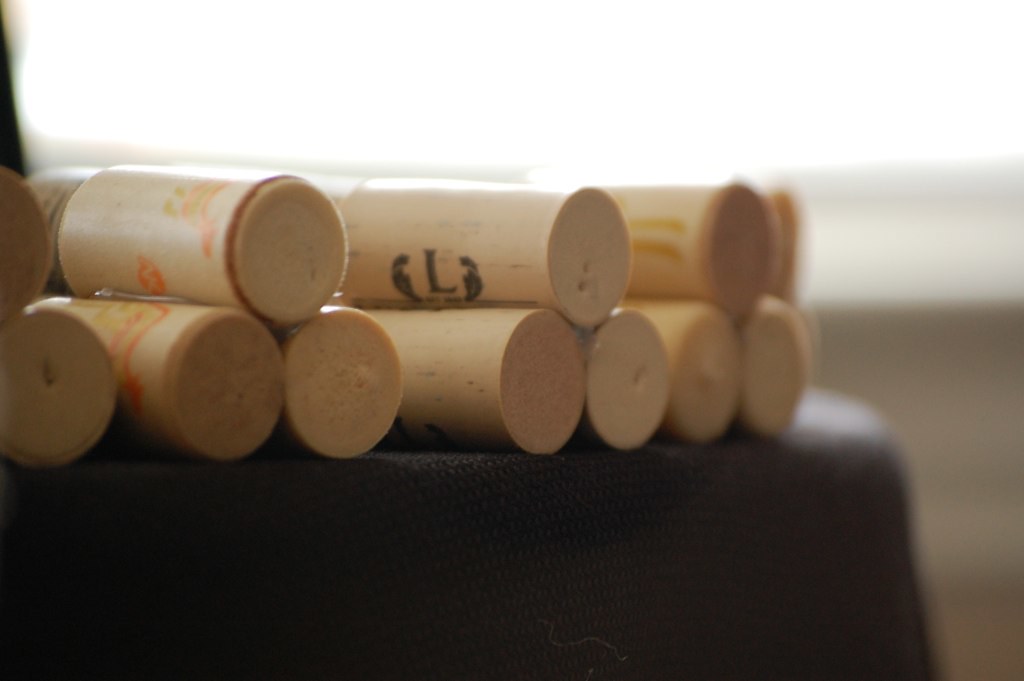
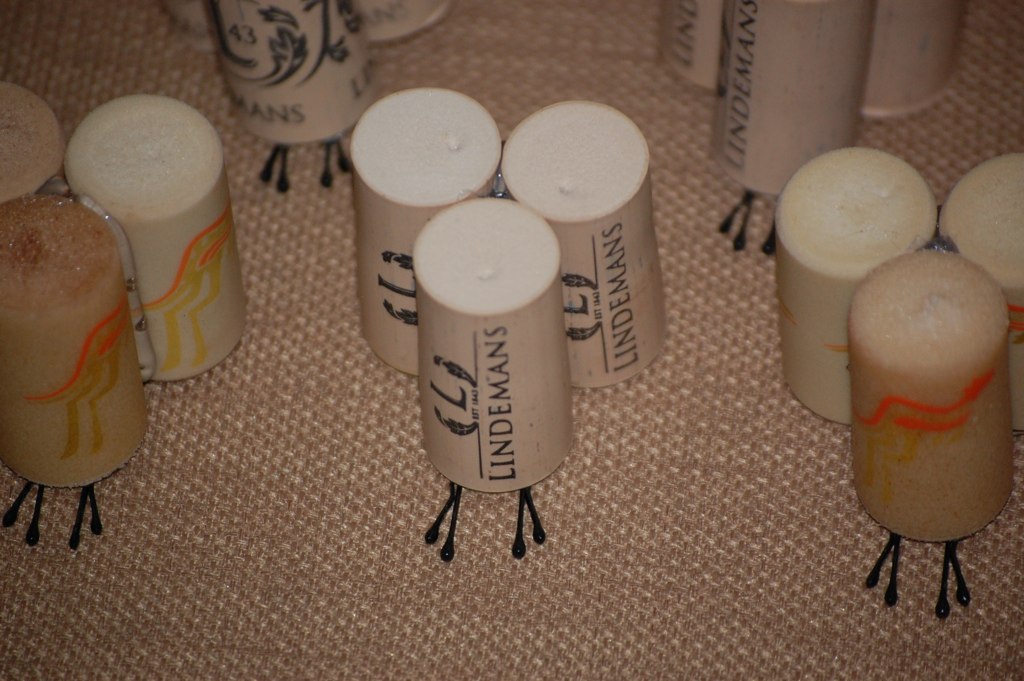
Start by gluing 3 corks together, like a triangle. I used hot glue for this.
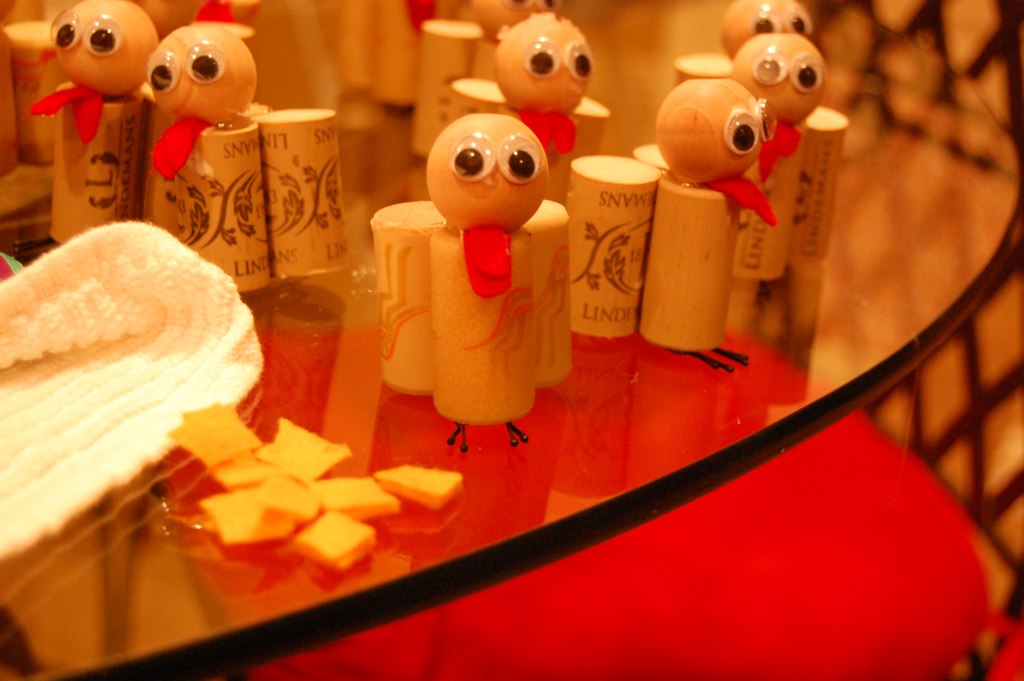
Then, flip the corks over, and hot glue two bobby pins on the bottom, for feet.
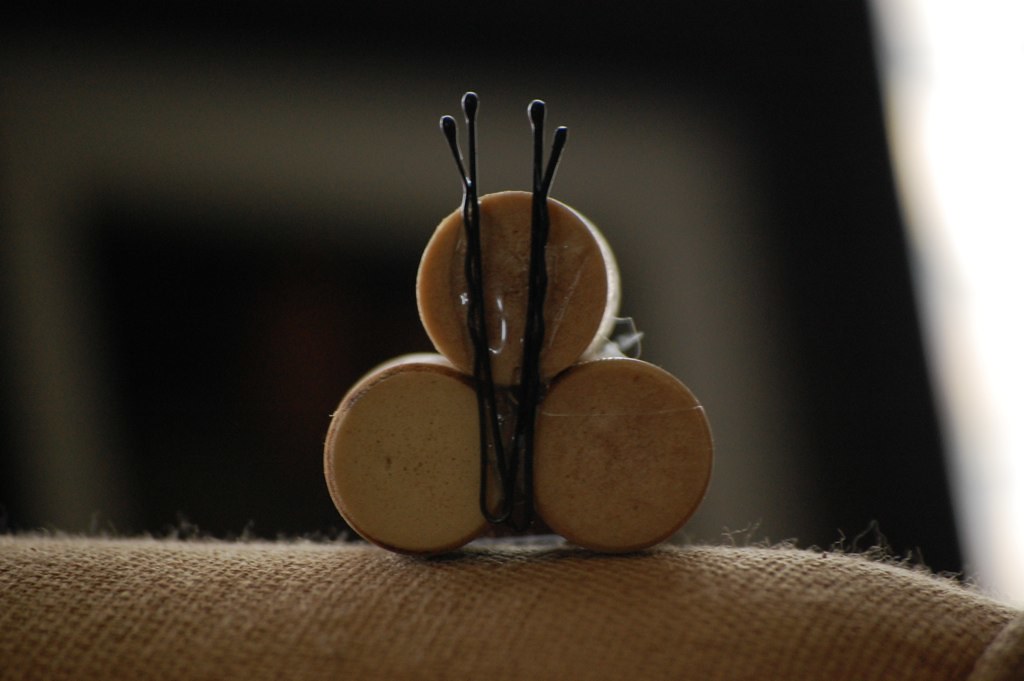
They'll look like this.
We made 16 of these little turkeys...
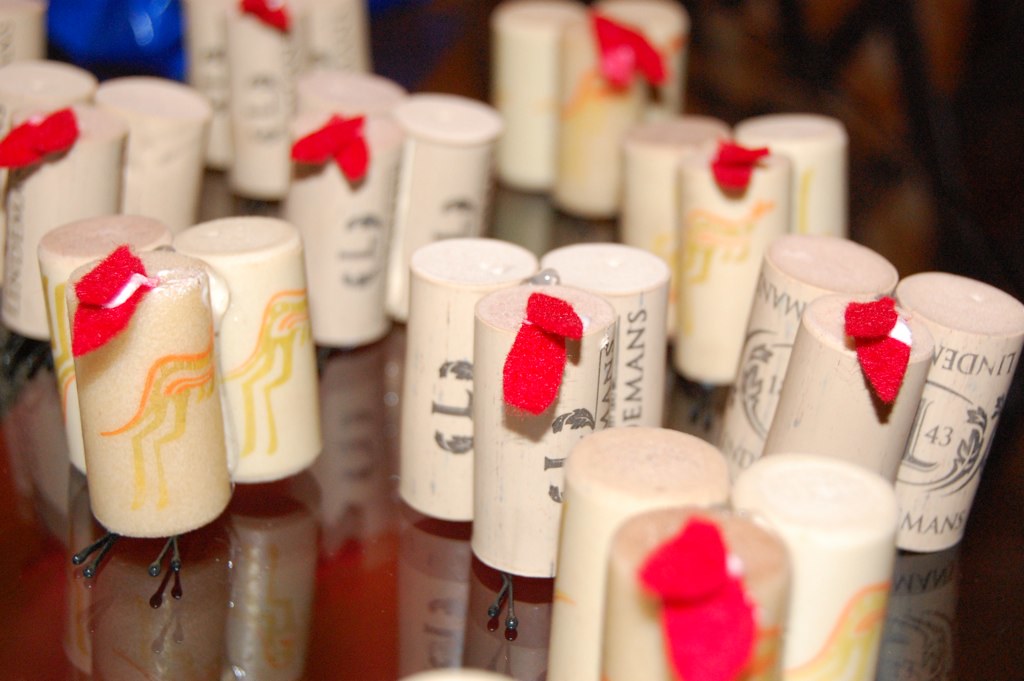
Grab your red felt, and cut two "rain drop" shaped gobbles for each turkey. If you are getting your kiddos to help out, I would highly recommend cutting the gobbles and the beaks, before you start. Glue the gobbles to the top of the cork.
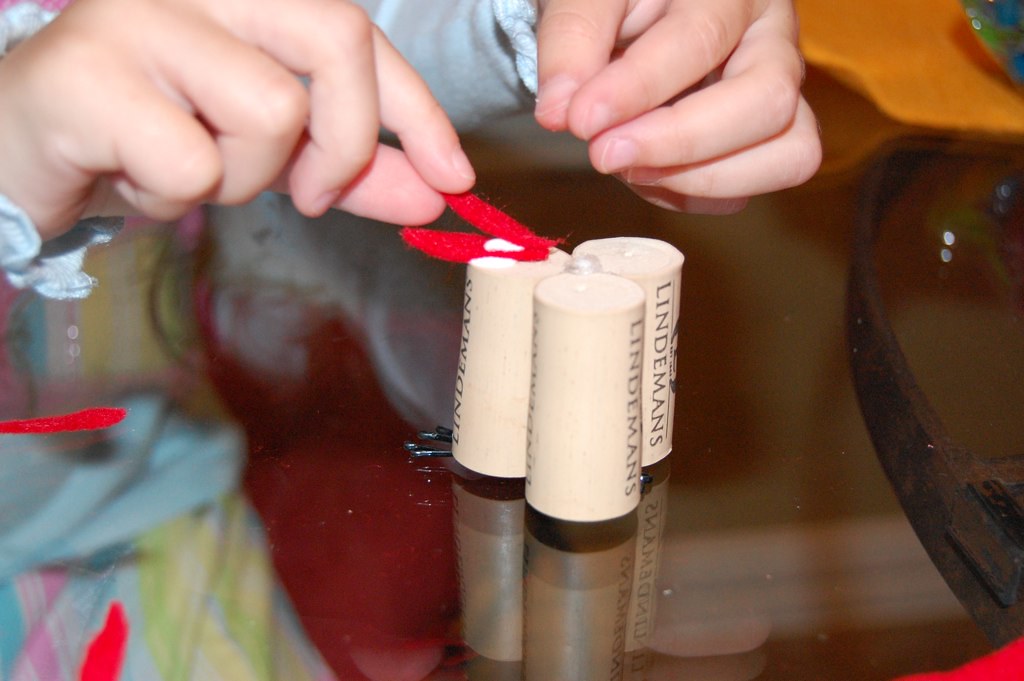
Then, they'll look like this...
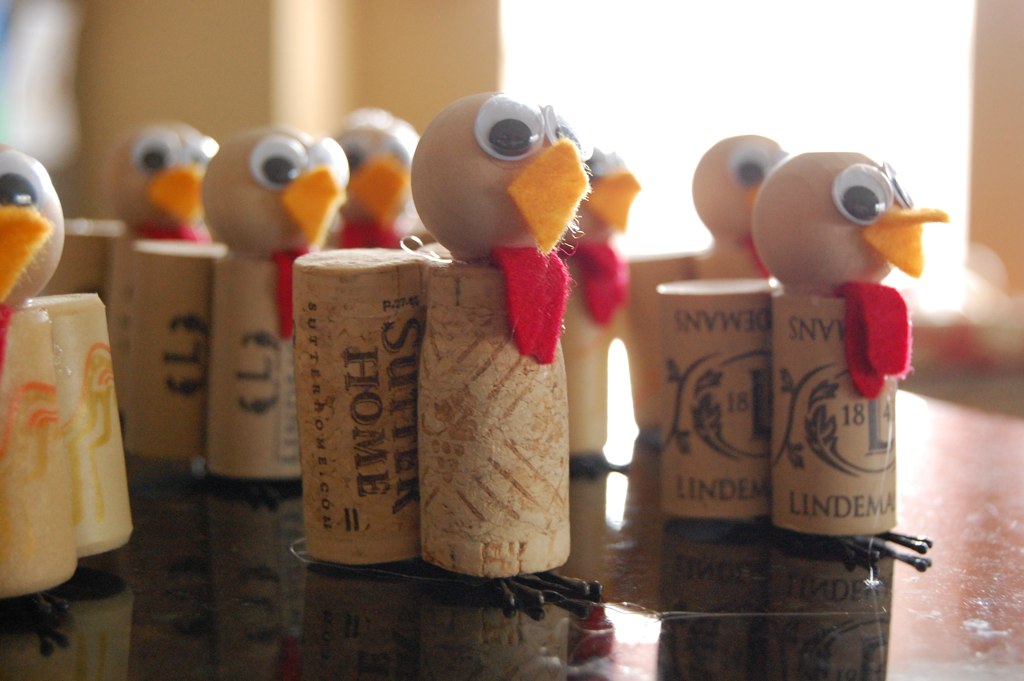
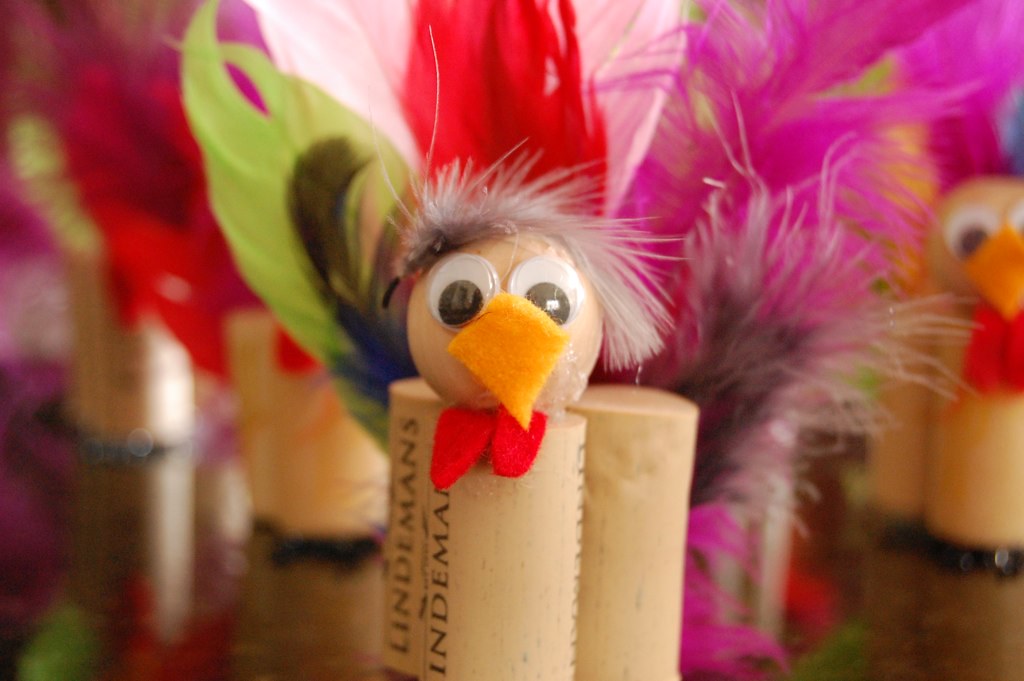
Next, we glued the wooden "turkey head" on top of the red gobble. I smeared the hot glue, and Emma attached the head. Then, let your "little hands" add the wiggle eyes, with tacky glue. I'll admit by this point, I was a little scared. They didn't exactly look like turkeys....
Grab your yellow/orange felt and cut diamond shapes for the beaks. Apply a little hot glue, just below the eyes, fold the diamond in half, and stick the beak on. I did this part, so Miss Emma wouldn't get burned.
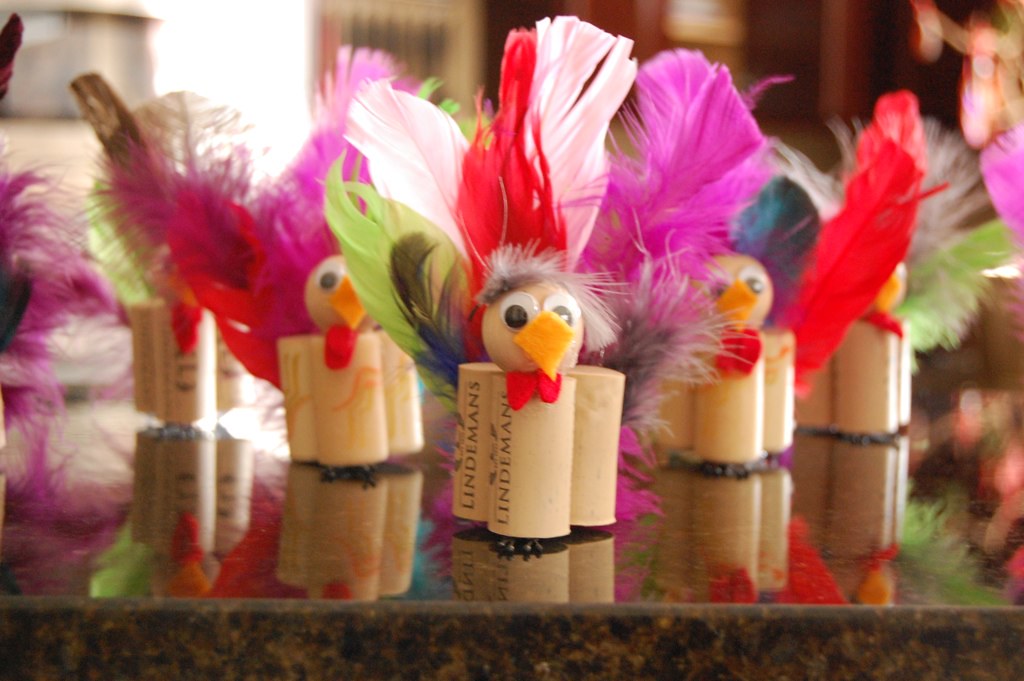
Then, add you feathers to the back of the corks. On a few of them, I did have to trim some feathers on the bottom, so the turkey would stand. And, a couple of the turkeys were leaning one way of the other, so I added a drop of hot glue to the bottom of those, so that they would stand up straight. Be prepared to vacuum post feathers.
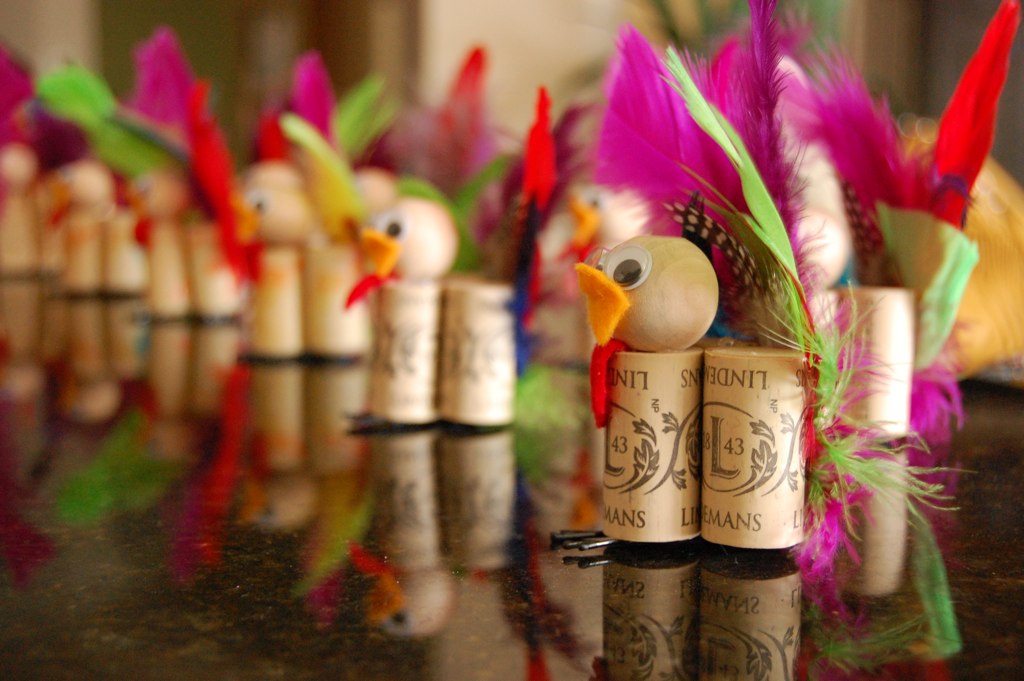
One little turkey had some "hot glue" damage to his head, so I added a feather to cover it up.
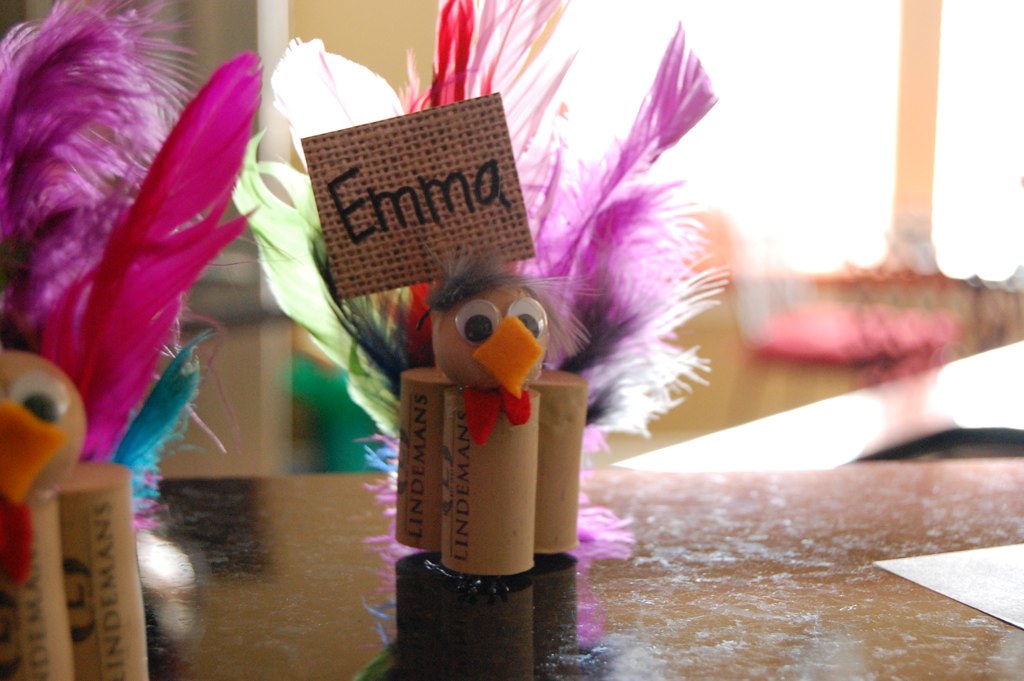
I told Miss Emma that she could choose which turkey would be hers. And, of course, she chose the Mr. Turkey with the feather on his head. She always chooses the one that is different from the rest.
Cut a square of paper. Write the person's name on it. Attach the toothpick to the back of the paper with tape, and stick the toothpick into the cork. You're done! And, I do think that these are the cutest little turkeys that I've ever seen :)


2 comments:
hey, i forgot to tell you that i found BKF at lowe's for like $2 or something cheap like that.
too bad i haven't shined my sink in months. hmmm...
I, too just got a new set of stainless steel pans and LOVE BKF - I can always find it at Bed, Bath & Beyond. :)
The Turkey place card holders are ADORABLE!
Post a Comment